BLOCK PRINTING SESSION
ur textile faculty from ICF Ms. Bharti Mishra took the onus of taking the entire batch of MBA and BBA to a fascinating art of block printing. The session took place at Sarai Kale Khan where a team of artisans were performing this art for ages. We were briefed by artisans on how to do this art.
Further, we were separated into groups to do practical.
Materials we needed were:
- A few bowls or trays
- Sponges (washing up sponges or ones used for car washing will do)
- Table for printing
- Carpet underlay or foam
- Felt
- Fabric – for natural dyes, use natural fabrics such as cotton, silk. For synthetic dyes, you can use any fabrics. Wool is not an ideal fabric for printing on as it does not produce a crisp outline
- Textile paints or natural dyes mixed with the thickener
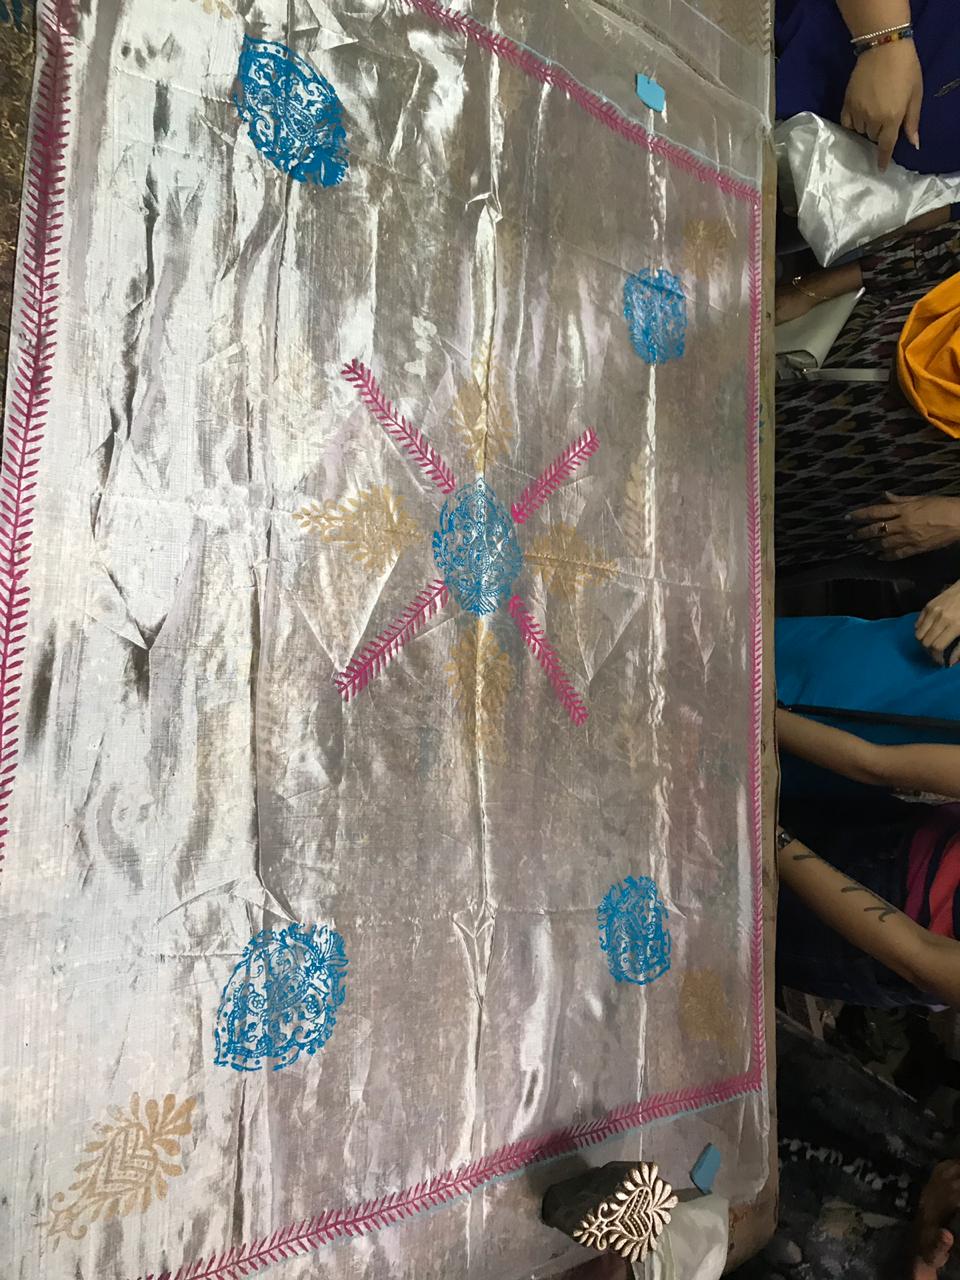
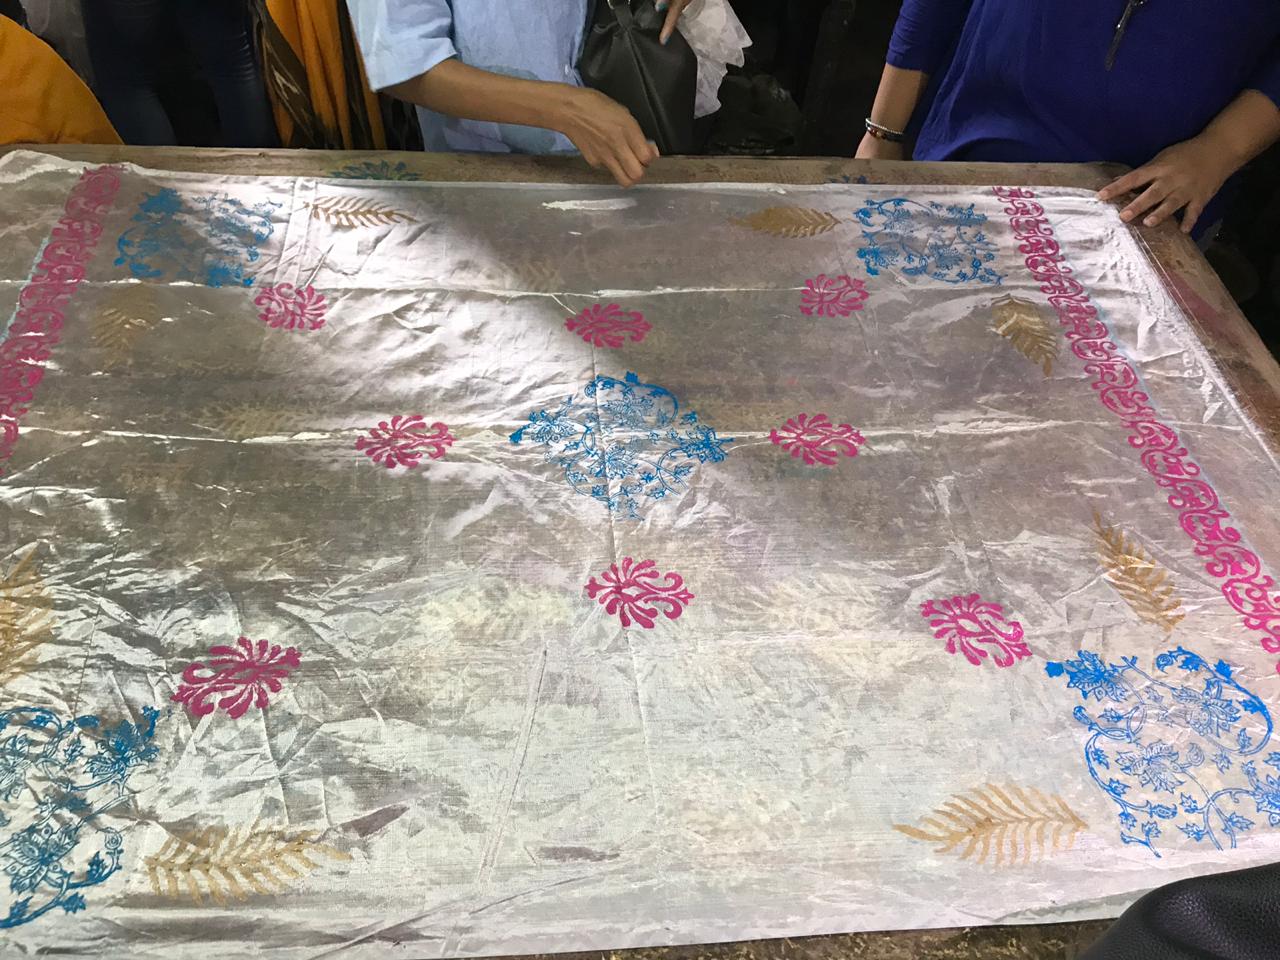
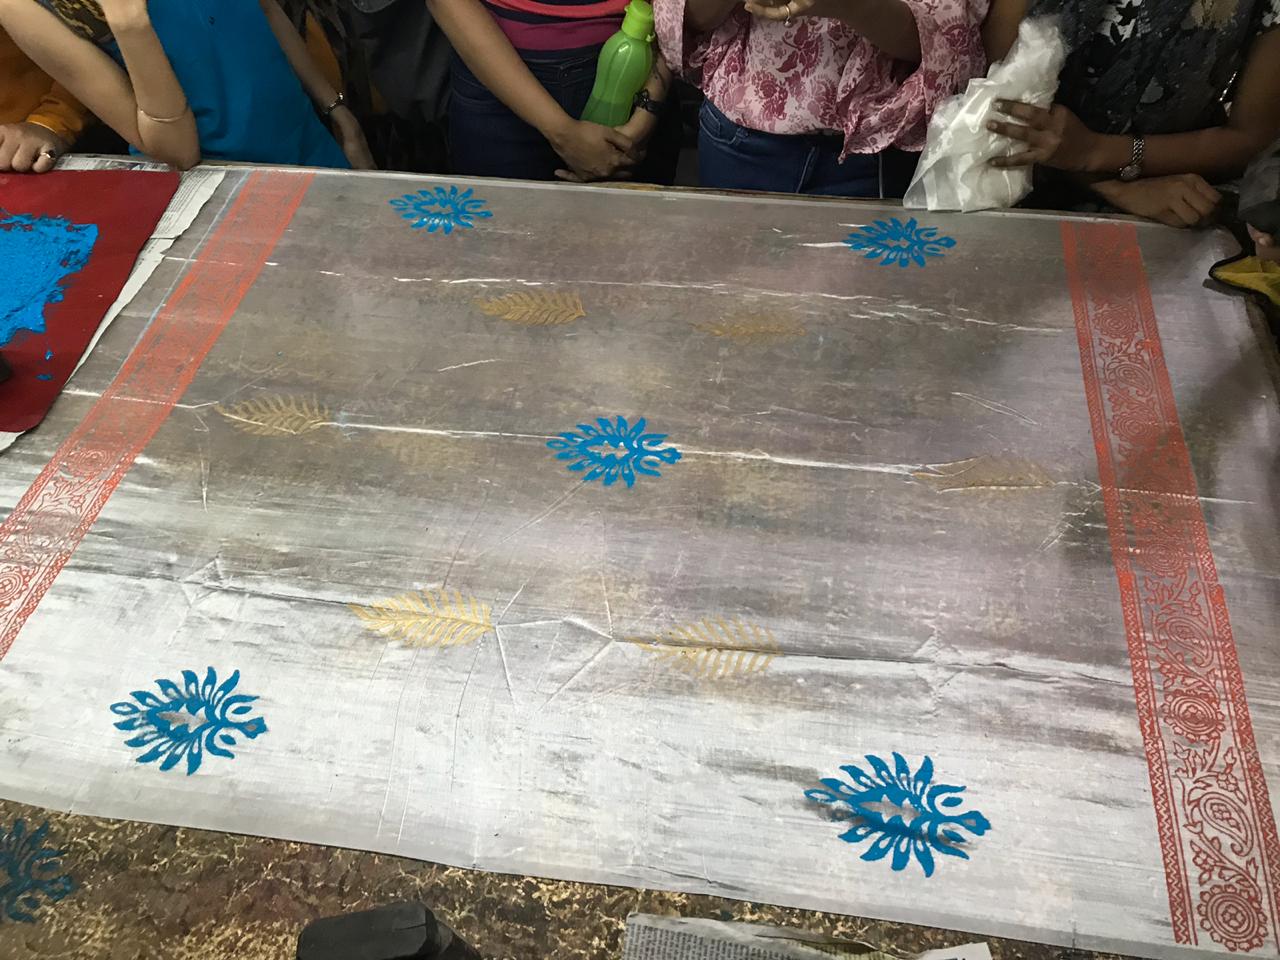
Artisans directions :
- You need a table to pin your fabric to for printing. I used a simple wooden table to which I then stapled a piece of carpet underlay, a piece of baize felt (any felt will probably do), and a piece of calico cotton over the top. Make sure each layer is tightly stretched over the table. This construction allows for an even, firm printing surface that you can tightly pin your fabric to.
- Pin your piece of fabric onto the covered table making sure the fabric is ironed and pinned flat.
- Squeeze out a blob of fabric paint or dye into a tray and dab the sponge into it ensuring the dye covers the sponge. You could also paint the dye over the sponge with a brush to ensure it is completely covered and soaks into the sponge.
- Press the block firmly into the sponge as many times as needed to ensure the colour covers the block completely.
- Press the block firmly onto the fabric with even pressure. Hold for a few seconds and carefully remove.
- Continue to print in a variety of colours, compositions, and repeats letting your creativity run away with you.
- Fixing the print will depend on the manufacturer. A common method is to iron on the reverse. For natural dyes, iron on the reverse, and then rinse in alternating temperatures of water with detergent.
- Clean the blocks by rinsing them in warm water and scrubbing with a bristle brush or toothbrush.
By keeping all the directions in mind, we choose different colors and blocks and made our own samples.
We thank Ms. Bharti Mishra ma’am for giving us throughout support. It was fun and learning at the same time.
Waiting for many further sessions to explore more …… !
Ananya Singh
MBA-FE(2018-20)


Leave a Comment